
 |
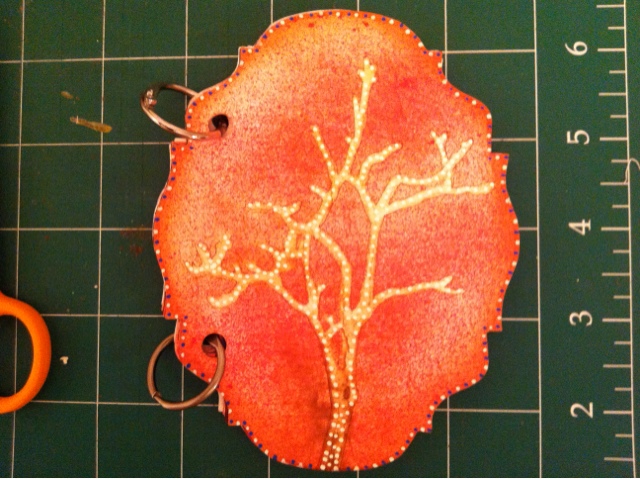
| I love trees, with or without leaves |
Last night while occupying myself in the lobby of the Brushy Creek Community Center during the kids’ taekwondo classes, I put myself to work using some of the doodle ideas from Traci’s Strathmore workshop on one of the inside pages. It was fun! I mainly used a Micron pen, but there are a few bits of a blue Sharpie poster paint marker as well. Adding the border transformed the page, and also I noticed again how extremely useful Zentangling has been for helping me doodle. I do remember that I used to *love* to doodle when I was in high school and would draw loads and loads of different sizes of circles on pages . . . need to get back to that.

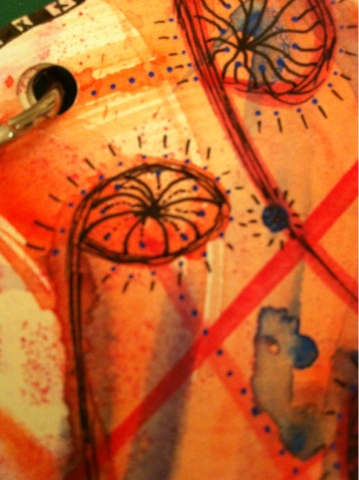 |
| Doodle close-up |

On Friday I finally made a decision about what kind of book to make. One of my goals this year is to become much more familiar and practiced with different book structures. Often I get bogged down in aspects of that which I think I “should” do . . . so this time I decided that my goal was simply to practice the book form, and thus I wasn’t going to add pressure to myself to embellish or create the perfect cover at the same time. Voila–unblocked.
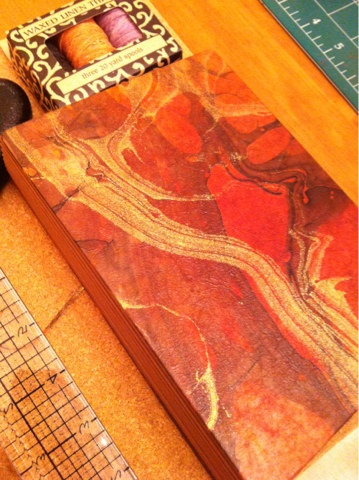
I measured and cut boards, sanded the edges, and cut paper from a beautiful sheet I’d gotten from Hollander’s a couple of years ago. I have found that I have an unsettling & probably unhealthy urge to hoard supplies for the “perfect” use, but I am coming to realize there is no such thing. So with nary a qualm I pulled out the paper and cut it up for this project. (With some of the scraps I even made a smaller book.) I did not yet get to the point of punching holes in the signatures or the covers; that will come this week.
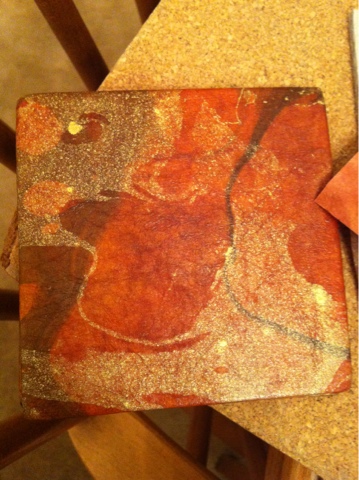 |
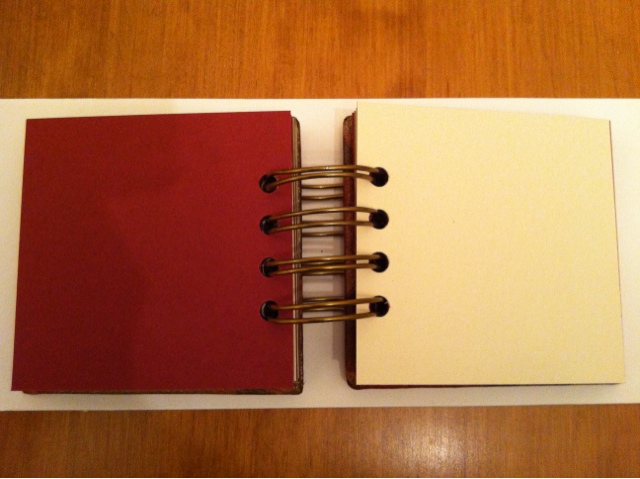
| Small boards (3-1/2″ square) covered with scrap from the big notebook |
My plan is to do my first caterpillar stitch. It’s not exactly clear to me how one attaches the signatures, since normally one works up from the back cover and this caterpillar appears to go the opposite way, but it did occur to me yesterday that I can do the cover stitching, and when I get to the signatures, I can just turn the whole thing 180 degrees so that I feel I am adding signatures from the back cover to the front. Hopefully that will work.
The little book came out quite cute. As the covers are 3-1/2″ square, I cut the pages to be 3-1/4″ square. I used many different shades of Archiver’s card stock that I thought would look good with the book cover: kraft, cabernet, pomegranate splash, pastel yellow, carob cream, neutral tan, pear crush, natural, cream white, sugar cream, and fudge cover. The point was for this to be quick and easy (and not lay around half-finished for weeks or months), so I used my new Cinch 2 that I got in a great post-Thanksgiving Day sale. Worked great!

Finally, at the weekend I came across the site of Marilyn Scott-Waters, and from it I did the following little cover for a 5×8″ ruled pad. It was easy and took all of about 10 minutes to do, and it gave me some great ideas for making my own. Plus it is something my daughter will like and also something she can help me do.
 |
| Front cover, added to a 5×8″ lined notepad from Office Depot |
 |
| The inside has a pocket; I covered up the Office Depot logo as best I could with lace tape |


Attaching signatures with the caterpillar stitch is really straightforward, actually. You just keep going like the holes in the signatures are more holes in the board and it all goes rather well. The signatures will alternate heights because the tension runs in different directions, but I think if you just make another to counteract the tension it would be fine. (That was probably confusing but I don't know how to explain it any better.)Also: hey I like your blog!